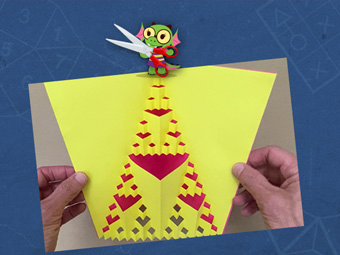
Square Flexagon
Cut and fold to make your own magically "flexing" polygon, a classic favorite of math beasts.
Instructions
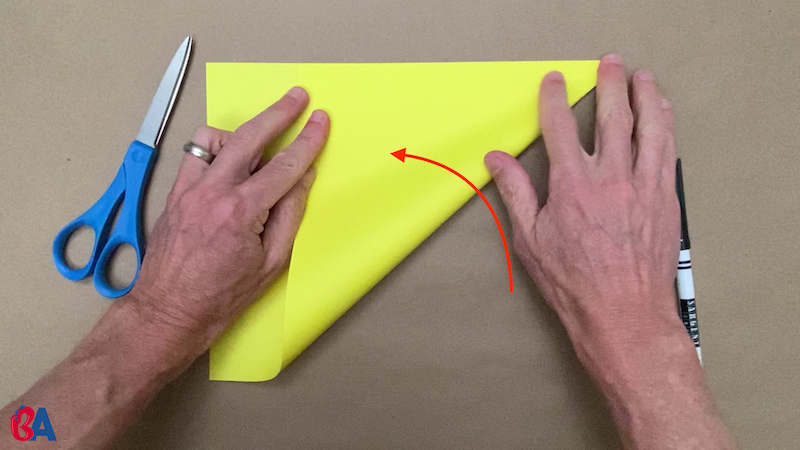
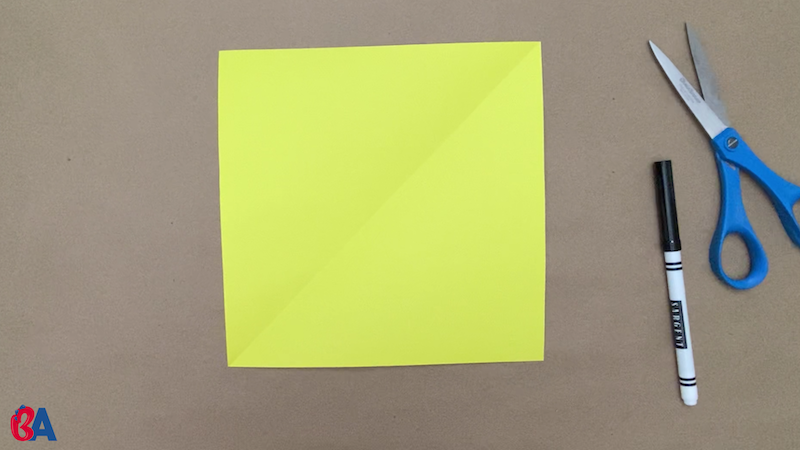
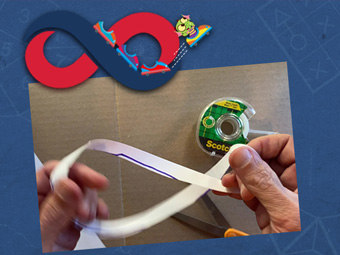
Once you've made your first flexagon, the next one will be easier. And there will be more! They're fun! Kids 7 or older may be able to fold and cut their own by following along with you. Younger children may just help you with certain folds or creases as you make a flexagon with them, and they'll certainly help decorate. Start by making a square from a piece of paper. Fold a short edge over and line it up with a long edge.
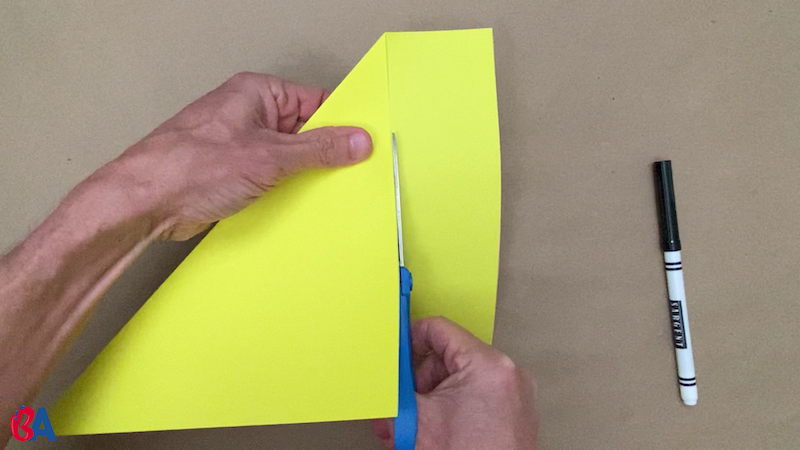
Then cut off the extra strip to make a square.
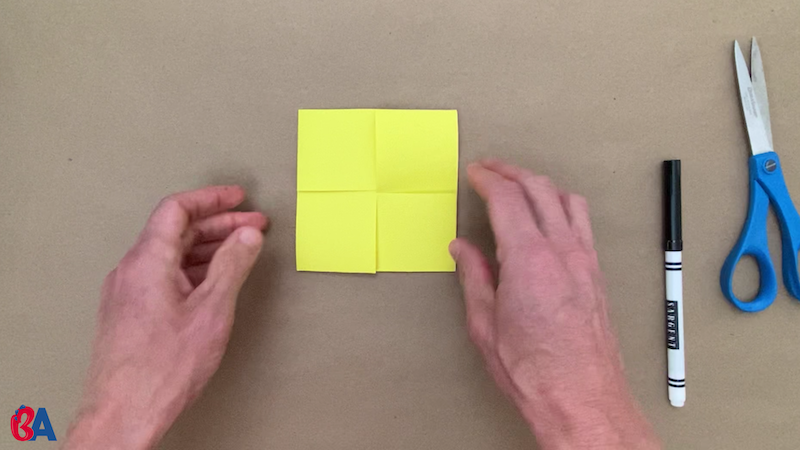
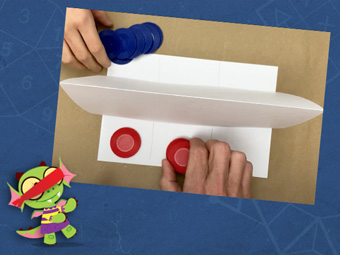
Now fold the square of paper in half. Then fold it in half again.
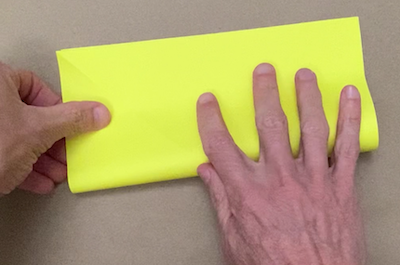
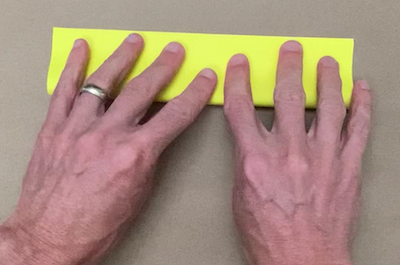
Fold these back and forth, and crease well. (This will make your flexagon a lot easier to "flex" later!) Then fold your square in half the other way, and fold it in half again. Remember to fold back and forth and to crease. The creases from these folds should divide your square into 16 smaller squares.
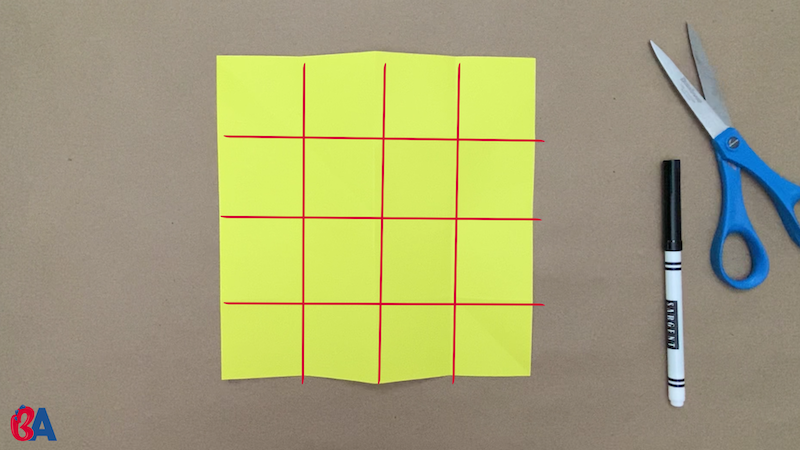
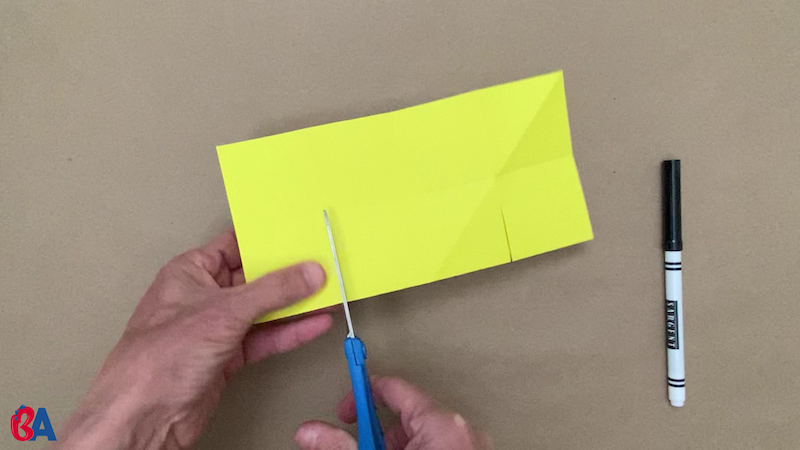
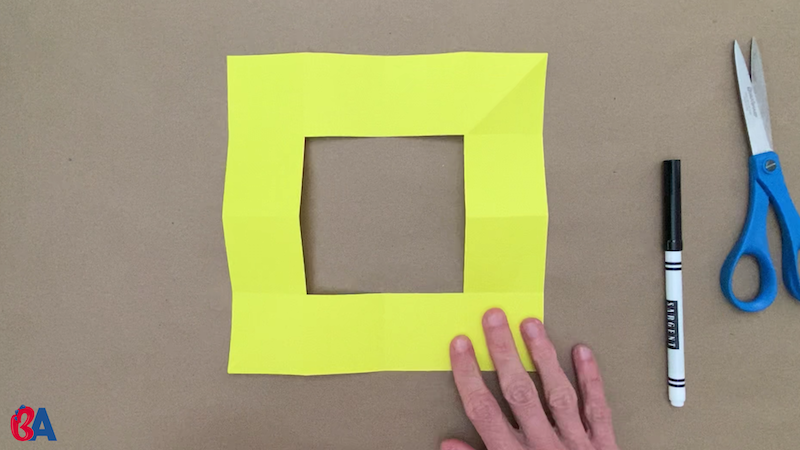
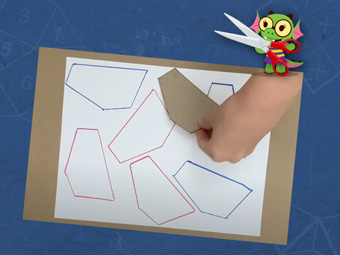
Next, cut out the center four squares, leaving only the 12 squares on the outside.
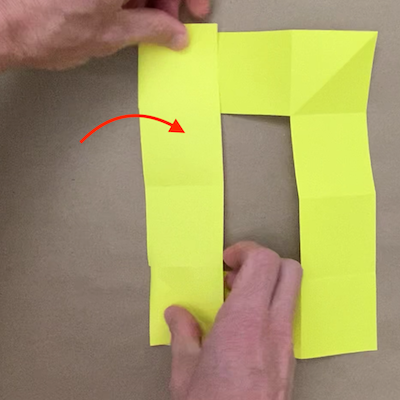
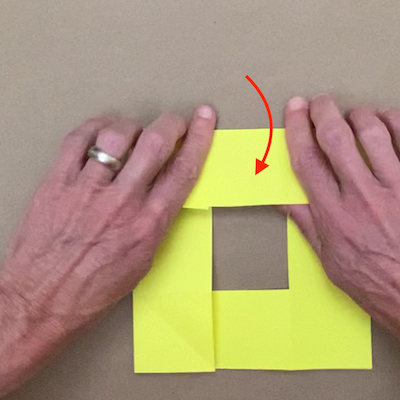
Fold the left side in, then the top, then the right side.
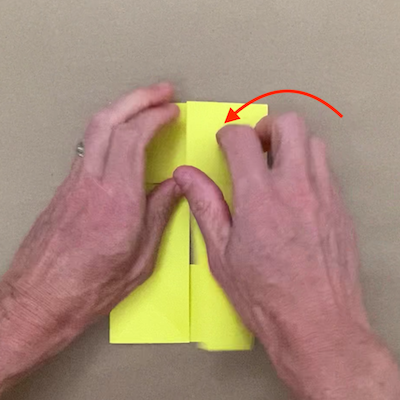
Folding the bottom side in is a bit trickier. It may take a few tries. Fold up the right side of the bottom, then tuck in the bottom left corner. We are trying to fold up the bottom as if it were folded before the left side, so that none of the folds are actually on top of each other.
The result is a bit like a pinwheel, or like the flaps of a cardboard box's lid, folded over each other so that none of them is completely "on top."
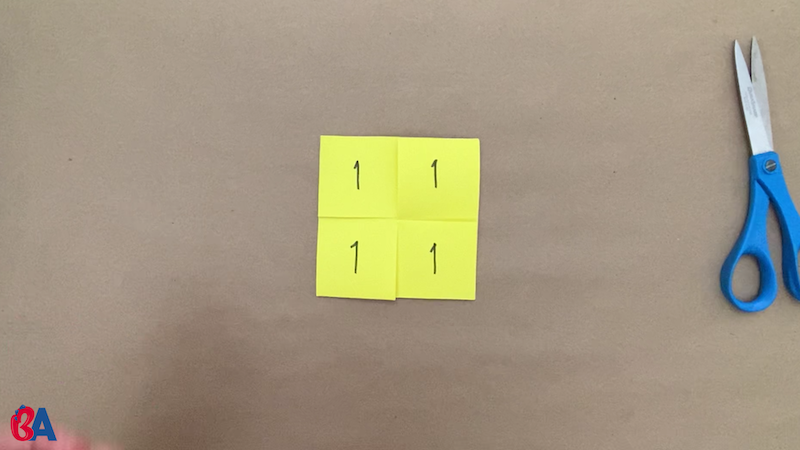
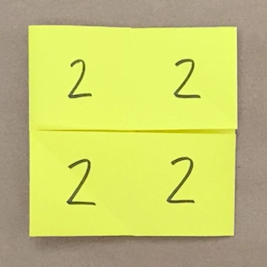
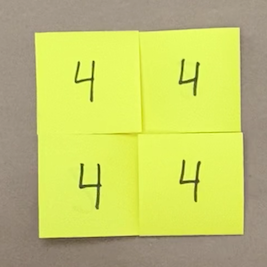
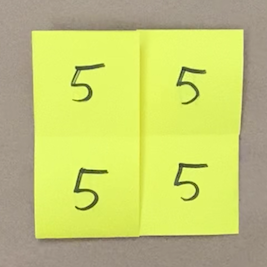
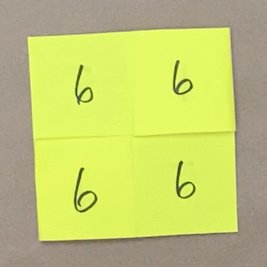
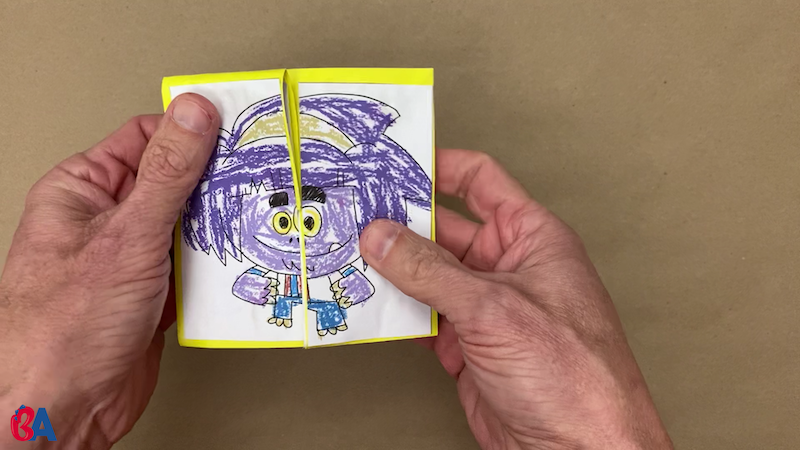
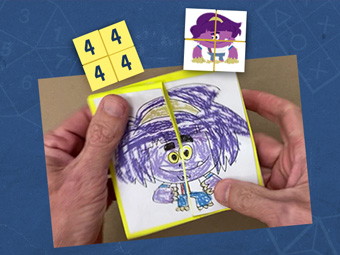
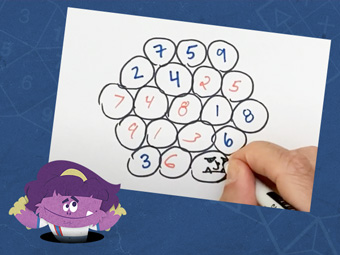
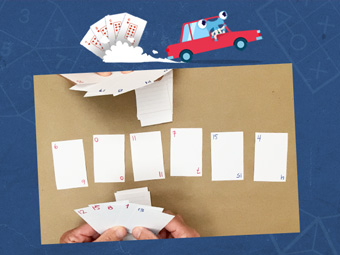
Ta-daa! Your flexagon is complete! Now what? To appreciate this little creation, it helps to number the "faces" this flexagon has. A "face" is the part you can see, made up of four little squares. Start by writing a 1 on each square.
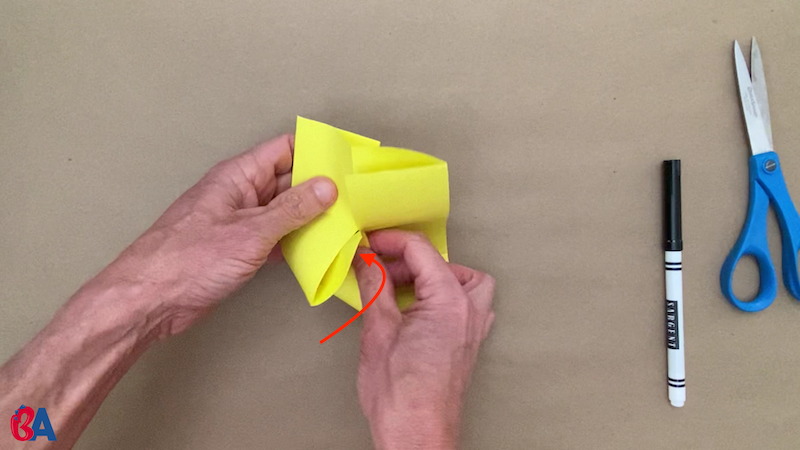
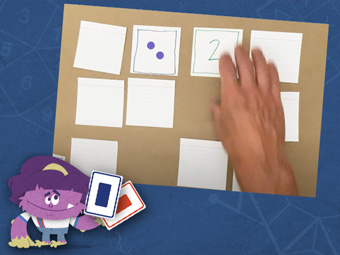
Now "flex" your flexagon to reveal a new face. First fold it in half. Then unfold it from the crease you just folded along. This takes some practice! (Watching our video may help, too.) From this position, with the 1's showing, you can flex your flexagon vertically or horizontally. As blank faces are revealed, number them. All together, there will be 6 blank faces, though it can be a bit tricky to find all of them!

For more about how to fold the flexagon to see every face, and about flexagons in general, see Learning Notes below.
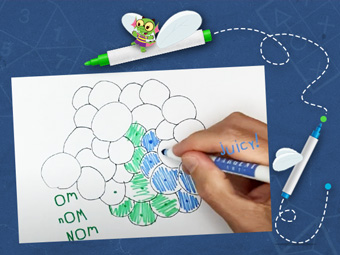
Now it's time to decorate! See Variations below for ideas.
Don't forget: it's Beast Academy Playground, not Beast Academy Study Hall. Change the rules, be silly, make mistakes, and try again. The Variations and Learning Notes are here for you if you want to dive deeper, but not all of them apply to learners of every age. The most important thing is to have fun.
Beasts Printable:
Use this printable of the Beast Academy beasts to decorate your flexagon. You may have a tough time choosing which six beasts to use on your flexagon.
Decorations:
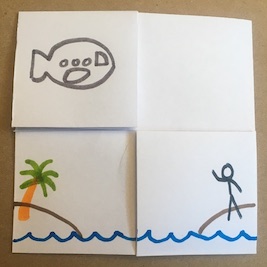
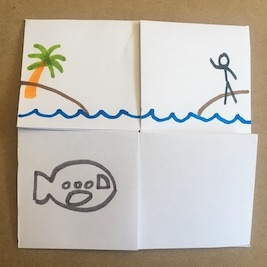
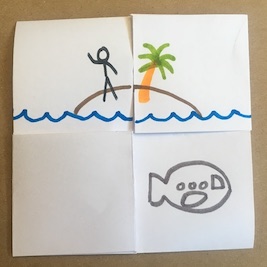
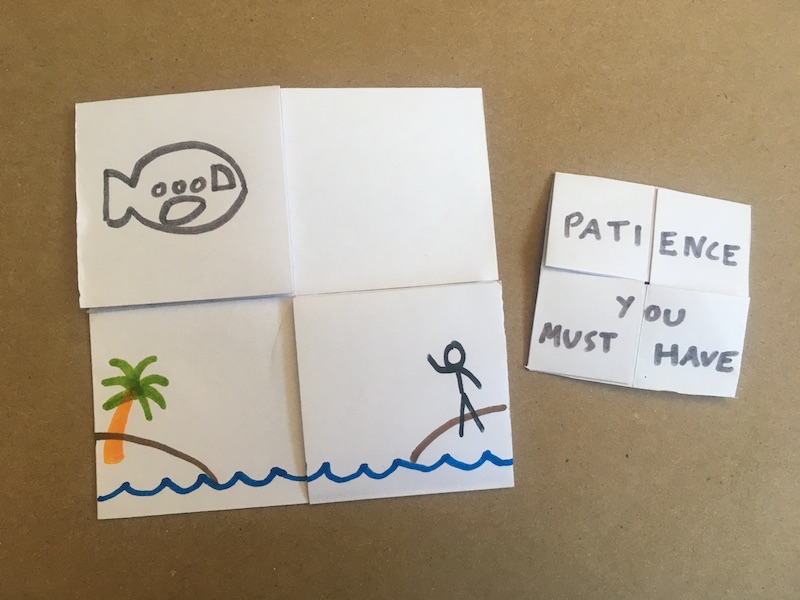
When you flex your flexagon, two halves of the face are switched. This leads to some fun possibilities for decorations.
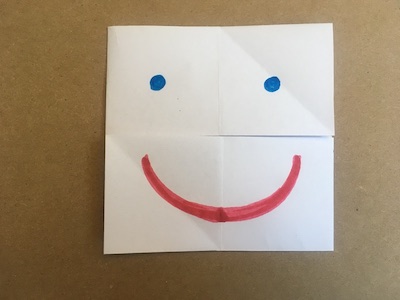
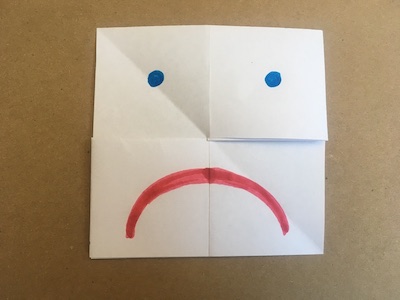
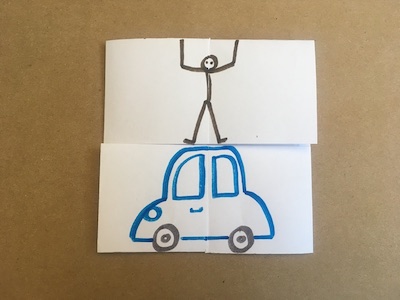
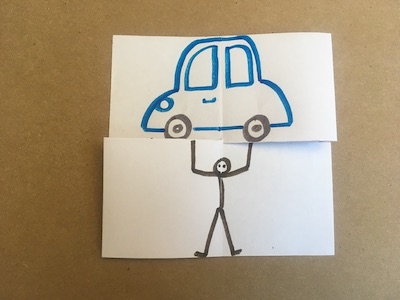
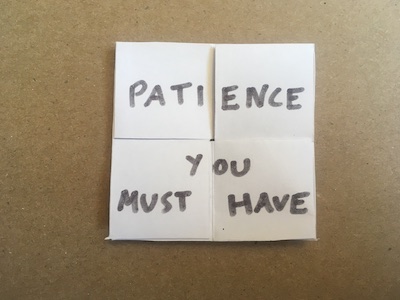
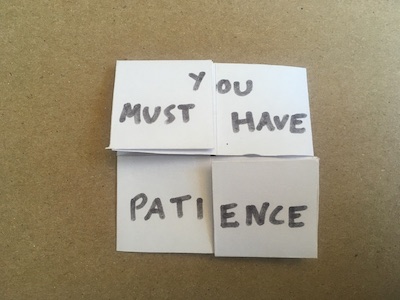
Two faces of your flexagon can be switched either horizontally or vertically. This adds some decorative possibilities, too!
Leftover Squares:
Hmmm, what could we do with the small square we cut out from the center? Why, we could make a square flexagon out of it!
Learning Notes d
Name:
Flexagons: Flexagons are a favorite of math beasts. There are many different kinds, each of which make a different shape when folded, and each of which has a different number of faces that can show. ("Faces" are each of the showing parts that can be revealed when the flexagon is flexed in different ways. We drew a beast on four of the faces in our video, for example.) To keep track of the many flexagons that can be made, each flexagon is named based on its number of faces, then its shape, and then appended with the word "flexagon."
Our flexagon has six faces to decorate (the prefix for "six" is "hexa") and makes a square (a shape with four sides is called a "tetragon"). So, our flexagon's official name is, get ready for it: a hexatetraflexagon! (Say that deca times fast!) The original, and still most popular, flexagons to make are trihexaflexagons and hexahexaflexagons. These are just called hexaflexagons for short (if you can call that "short"). If you can decipher the names, you'll know that a trihexaflexagon has three faces and is shaped like a hexagon, and a hexahexaflexagon has six faces and is also shaped like a hexagon. And there are many more types of flexagons as well!
Traversing Your Flexagon:
As you play with your hexatetraflexagon, you may notice that certain faces always fold to reveal certain other faces. Face 1, for example, may always fold to reveal either Face 2 or Face 5. (This is in fact the case if you labeled your flexagon in the same order as we did in the video.) But Face 1 can never lead directly to Face 3 or Face 6. So how does all this work? Which faces lead to which other faces each time the flexagon is flexed?
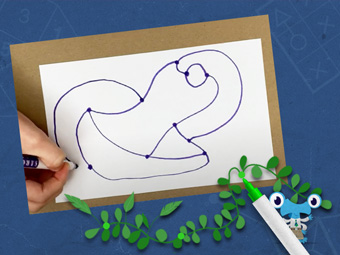
It turns out, we can map out how to "traverse" all the faces of a flexagon. (The following is based on the numbering used in the video. If you numbered your flexagon differently, the numbers on your map will be in different places, though the basic shape of your map will be the same.)
We'll start with our flexagon showing Face 1 on the front and Face 4 on the back. From here, we can flex in two ways: by folding the left and right sides back and together (so the vertical middle line gets opened up), or the top and bottom sides back and together (so the horizontal middle line gets opened up). Let's do the first one: fold the left and right sides of the flexagon back and together and open up the vertical middle line. This reveals Face 2, and Face 1 is on the back.
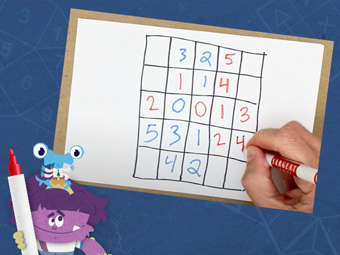
Flex again (there is only one way to do so here) to reveal Face 3 on the front, with Face 2 on the back. Then flex again to reveal Faces 4 and 3. And one last flex brings us back to Face 1 on the front, and Face 4 on the back. We've come full circle! Or, since our traverse had four different arrangements, maybe we've come full "square." Let's chart this information on a map by writing the showing faces for each arrangement, and drawing lines connecting our path from one arrangement to the next:
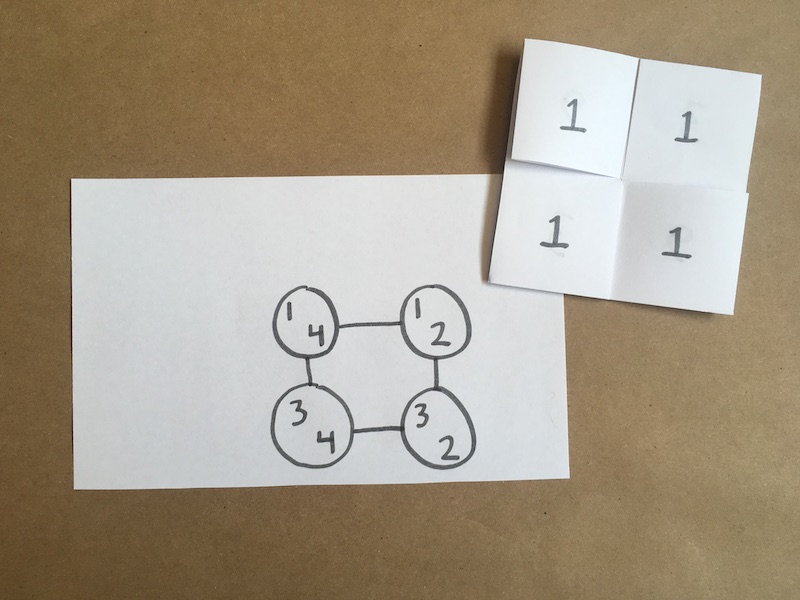
Now what if, starting again with Face 1 on the front and Face 4 on the back, we instead fold the top and bottom sides back and together and open up the horizontal middle line? When we do so, we get Face 5 on the front and Face 1 on the back. Flex again (there is again only one way to do so here) to reveal Faces 5 and 6. Then flex again to reveal Faces 4 and 6. A final flex brings us back to Faces 1 and 4. Once again, we've come full square! We'll add this path to our map, too.
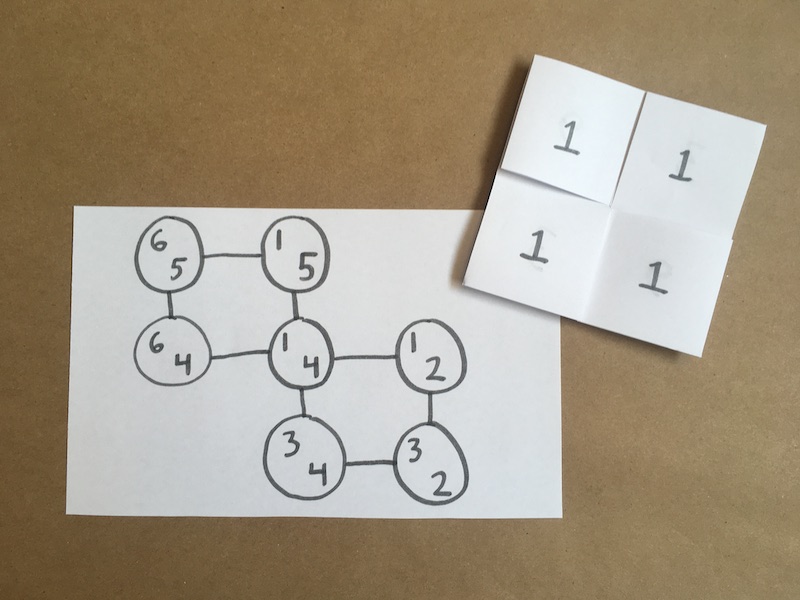
Seeing our journey mapped this way shows us what you may have noticed just by playing: there is one arrangement (with Faces 1 and 4 showing) that allows you to flex either vertically or horizontally. The rest of the arrangements can only be flexed one way.
One Cut:
When we cut out the center square of the flexagon in the video, we use two straight-line cuts. Can your math beast figure out how to cut out the center square with a single straight-line cut?
What do you think of this activity?
We're always looking to improve. Submit your feedback to us below.
- paper
- scissors
- markers
- wonder
- shapes
- MP4
- K.CC.A.3
- K.CC.B.4
- K.CC.B.5
- K.G.A.1
- K.G.A.2
- 2.G.A.2

Ready to level up?
Keep problem solving with Beast Academy’s full math curriculum for students ages 6–13. Check out our captivating comic book series and immersive online platform.
LEARN MOREBring problem-solving to your classroom
Keep your entire class engaged with a full book and online math curriculum, for students ages 6–13. 98% of teachers say they’re satisfied with Beast Academy.
LEARN MORE


Ready to level up?
Keep problem solving with Beast Academy’s full math curriculum for students ages 6–13. Check out our captivating comic book series and immersive online platform.
LEARN MOREBring problem-solving to your classroom
Keep your entire class engaged with a full book and online math curriculum, for students ages 6–13. 98% of teachers say they’re satisfied with Beast Academy.
LEARN MORE Sign up to be notified when new videos are released.